.webp)
How Long Does It Take to Pack a Kitchen Before Moving Day?
Written by:
Superior Moving & Storage
Published:
July 12, 2026
Learn how to pack a kitchen for a move the right way — from dishes and glassware to appliances and pantry items. A complete, practical guide from Superior Moving & Storage.
Knowing how to pack a kitchen for a move is one of the most valuable skills you can develop before relocation day. The kitchen is almost universally the hardest room in the house to pack — not because it's the largest, but because it contains the greatest variety of items: fragile glassware, heavy cast iron, sharp knives, bulky appliances, half-open pantry goods, and dozens of small odds and ends that don't obviously belong in any single box. At Superior Moving & Storage, we've helped thousands of families move across Philadelphia, New Jersey, Delaware, and beyond, and the kitchen is the room where under-preparation shows up most visibly on moving day. This guide gives you a complete, actionable plan for packing your kitchen from start to finish — so nothing breaks, nothing gets left behind, and everything arrives ready to use.
The kitchen also tends to be one of the last rooms people pack, because they're still using it right up until move day. That creates a real tension between functionality and preparedness. The good news is that with the right sequencing, you can keep your kitchen operational until the final 24 hours while still arriving at your new home fully organized. Here's how to do it.
Why the Kitchen Deserves Its Own Packing Strategy
Most rooms can be packed with a general approach — wrap things carefully, use appropriate boxes, label clearly. The kitchen is different. It demands a category-by-category strategy because the items vary so dramatically in weight, fragility, shape, and how they pack together.
Consider what's actually in a typical kitchen: fine china that shatters with minimal impact, heavy Dutch ovens that can crush lighter items if stacked wrong, sharp chef's knives that can puncture boxes and injure anyone handling them, small appliances with detachable cords and accessories that get separated easily, and pantry staples that may or may not survive the move depending on how they're handled. A single box strategy — or worse, random "grab and pack" — produces a truck full of broken dishes, lost lids, and a new kitchen that takes weeks to sort out.
A category-by-category approach also protects your movers. Overloaded boxes — a common kitchen mistake when people pile heavy pots and pans together — are a leading cause of injuries and dropped loads. If you're using professional packing services, your crew will already know how to separate categories. If you're packing yourself, this guide gives you the same framework.
Phase One: Declutter and Sort Before You Pack a Single Box
The single biggest mistake kitchen packers make is packing everything they own. The move is an opportunity — possibly the best one you'll get — to eliminate the items that have been cluttering your cabinets and drawers for years. Before you reach for a single sheet of packing paper, spend time sorting.
Identify What You Actually Use
Pull everything out of your cabinets and lay it on your counters or table. Group items by category: dinnerware, glassware, cookware, bakeware, small appliances, utensils, pantry goods. Now ask yourself honestly: when did you last use this? The blender you haven't touched in two years, the duplicate spatulas, the novelty mugs that only come out at Christmas — these are candidates for donation, sale, or disposal.
Fewer items to pack means fewer boxes, lower truck weight, faster loading and unloading, and a new kitchen that starts organized rather than cluttered. If you're planning to schedule junk removal before your move, the kitchen purge is the ideal time to fill that order.
Handle Pantry Items Early
Food presents a unique challenge. Many pantry items — especially anything in glass jars, open bags, or oversized containers — are poor candidates for moving. Most professional movers won't transport perishables, and some items (oils, vinegars, sauces) can leak and damage everything around them. A good rule: plan to use or donate as much of your pantry as possible in the weeks leading up to your move. The less food you pack, the easier the kitchen move becomes.
For items you do plan to bring, use plastic bags to double-seal any open packages, tape over spice jar lids, and pack food items in their own clearly labeled boxes — never mixed with kitchen equipment. Keep these boxes upright and accessible at the top of the truck for easy unloading.
Phase Two: Pack by Category, Heaviest to Lightest
Once you've decluttered and handled the pantry, it's time to pack. The order matters: start with the heaviest, sturdiest items and work toward the lightest, most fragile ones. This counterintuitive sequence ensures that by the time you're handling the delicate items, you have the appropriate materials on hand and aren't tempted to overstuff boxes.
Cookware: Pots, Pans, and Bakeware
Cast iron skillets, large stock pots, and heavy Dutch ovens should each be packed individually in medium boxes — never stacked without protection. Line the bottom of the box with two to three layers of packing paper. Wrap each pot or pan individually, even if it seems unnecessary — the lids are the fragile part, and an unwrapped lid can crack against the pot body in transit. Nest smaller pieces inside larger ones where size allows, but keep total box weight under 50 pounds.
Bakeware — sheet pans, muffin tins, glass baking dishes — packs well in flat, layered stacks with packing paper between each piece. Glass baking dishes deserve individual wrapping and a box with significant cushioning on top and bottom.
Plates, Bowls, and Dinnerware
This is where most kitchen damage happens. The rule that almost everyone ignores: pack plates vertically, not flat. Plates stacked horizontally act like a column of force — any shock to the box is transmitted straight through every plate in the stack. Plates packed vertically, like records in a crate, distribute impact across the rim of each plate rather than through its face.
Wrap each plate individually in two to three sheets of packing paper. Start at a corner, place the plate in the center, fold the paper over the face, then roll toward the opposite corner. Pack wrapped plates on edge in a dish-pack box (a double-walled box specifically designed for kitchen items), separated by layers of crumpled packing paper. Bowls can be nested in pairs or threes with paper between each, then wrapped together as a bundle.
Glassware and Stemware
Glassware requires the most individual attention of any kitchen category. Everyday glasses should be wrapped individually in packing paper, stuffed lightly at the opening with crumpled paper, and packed upright in a cell kit — a cardboard insert that divides the box into individual compartments. Cell kits are inexpensive and eliminate the most common cause of glassware breakage: glasses tipping and striking each other mid-transit.
Stemware — wine glasses, champagne flutes — deserves extra wrapping at the stem and bowl. Wrap the stem first, then wrap the bowl separately, then do a final full wrap of the whole glass. Pack stemware in purpose-built stemware boxes when possible, or use a cell kit with individual slots. Never pack stemware with heavier items in the same box.
Small Appliances
Small appliances — toasters, coffee makers, blenders, stand mixers — are best packed in their original boxes if you've kept them. If not, use boxes sized to fit the appliance with two to three inches of cushioning on all sides. Remove detachable parts (carafe from the coffee maker, blades from the blender, bowl from the stand mixer) and pack them separately with clear labeling that connects them to the parent appliance. Tape cords neatly to the body of the appliance or pack them in a small bag taped to the inside of the box lid.
Large appliances — refrigerators, dishwashers, ranges — are typically moved as-is rather than packed. These require specific preparation: refrigerators need to be defrosted and dried 24–48 hours before the move, drawers and shelves should be removed and wrapped separately, and door handles should be protected with moving blankets. For unusually heavy or awkward appliances, ask about specialty moving services — attempting to muscle a double-door refrigerator without the right equipment is a common source of wall and doorframe damage.
Knives and Sharp Utensils
Knives need individual protection — both to protect the blade and to protect anyone handling the box. Wrap each knife in several layers of packing paper, securing the blade end tightly with tape. An even better option is slipping knives into their knife block for transport (wrap the block itself), or using a purpose-built knife roll. Never pack loose knives in a box of utensils — this is a genuine safety hazard. Clearly label any box containing knives on the outside.
Flatware and Small Utensils
Everyday flatware can be wrapped in sets — bundle a set of forks together with a rubber band, then wrap in paper. This is one area where you don't need to overthink individual wrapping. Pack flatware in small or medium boxes, laid flat. Small utensils — spatulas, ladles, whisks — can be grouped by function and wrapped together in bundles. Keep the "open first" kitchen essentials (a few plates, glasses, and utensils you'll need immediately upon arrival) in a clearly labeled box that comes off the truck last and goes into your new kitchen first.
Phase Three: Labeling and Box Management
Kitchen boxes require more specific labeling than almost any other room in the house, because the room has so many subcategories that a simple "Kitchen" label tells you almost nothing. Label every kitchen box on the top and at least two sides with the following information:
- Room: Kitchen
- Category: (e.g., Glassware, Pots & Pans, Pantry, Appliances)
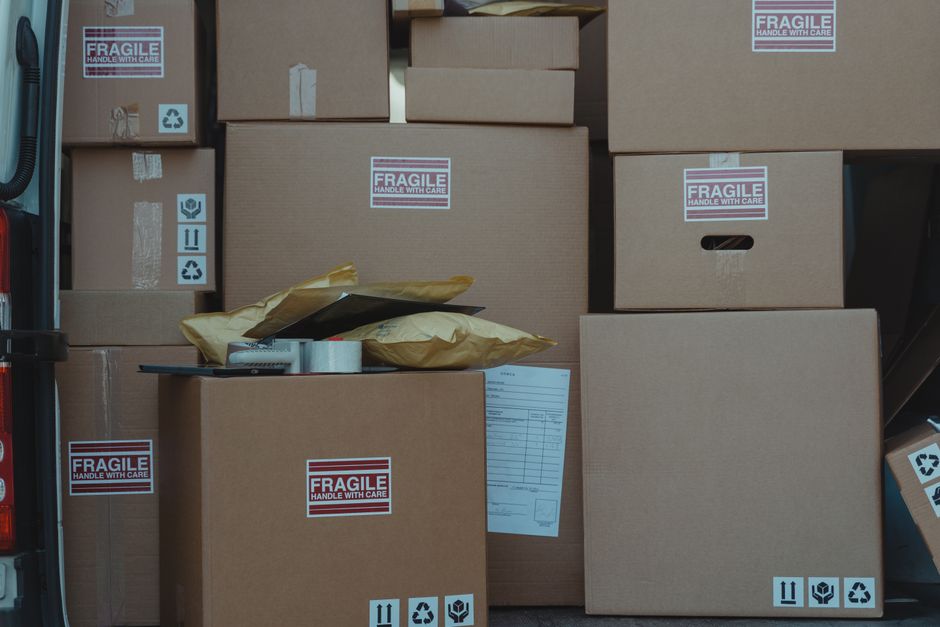
- Fragility: Mark boxes containing glass or ceramics clearly with "FRAGILE – THIS SIDE UP"
- Priority: Mark your "open first" box and any boxes you need access to on day one
Fragile boxes should always be loaded last onto the truck and unloaded first, positioned at the top of the stack and against the cab wall where they're least likely to shift. Brief your movers on which boxes are fragile and which are priority unloads — a good crew will factor this into their loading plan.
Phase Four: The Final 24 Hours
Your kitchen will stay partially functional until the last day. Here's how to manage the final phase without chaos:
Pack Everything Except Your Day-Of Essentials
The night before your move, do a final kitchen sweep. Everything that isn't part of your "open first" kit should be boxed, sealed, and labeled. The "open first" kit should contain only what you need for breakfast on moving day and the first dinner in your new home: a pan, a few plates and utensils, coffee-making supplies, and any non-perishables you're keeping. Pack this kit in a clearly marked box that you personally supervise onto the truck and off again.
Clean and Prepare Appliances
Wipe out your refrigerator, oven, and microwave. Ensure the refrigerator has been defrosted and is dry. Remove any shelf liners. Check that small appliances are clean and dry before packing — any moisture inside a packed appliance can cause mold or damage during transit.
Do a Final Sweep
Before the movers leave, open every cabinet and drawer in your kitchen. Check under the sink, inside the refrigerator, and inside the oven. It's remarkably easy to leave behind a cutting board leaning against the back of a cabinet or a set of measuring spoons in a rarely opened drawer. This sweep takes five minutes and saves a trip back — or the realization weeks later that something essential didn't make the move.
What to Do When You Arrive: Prioritizing Kitchen Setup
The kitchen is one of the rooms that most directly affects your quality of life in the first days after a move, which makes getting it functional quickly a high priority. If you have flexibility in your unpacking sequence, treat the kitchen as a top-three priority after bedrooms and bathrooms.
Unpack in reverse order of how you packed: fragile items last, heavy items first. Establish where things will live before you put them away — don't just put things where they fit. A few minutes of thought about cabinet organization in a new kitchen can save months of frustration. Consider how you actually cook: the items you reach for most often should be at the most accessible heights and closest to where you use them.
Break down and recycle boxes as you empty them. Kitchen boxes accumulate fast, and a pile of empty boxes in a small kitchen makes the whole space feel chaotic. Keep a clear path to essential areas as you work, and take breaks — a full kitchen unpack is a multi-hour project, and rushing it produces a kitchen you'll want to reorganize again in two weeks.
Frequently Asked Questions
How far in advance should I start packing my kitchen before a move?
Start packing non-essential kitchen items two to three weeks before your move date. Begin with items you rarely use: seasonal bakeware, specialty appliances, extra glassware, and formal dinnerware. Work toward everyday essentials in the final week, leaving only the items you need daily until the last 24–48 hours. This staged approach keeps your kitchen functional without leaving packing to the last minute.
What's the best way to pack dishes so they don't break?
The most important rule is to pack plates vertically — standing on their edge like records — rather than flat in a stack. Vertical packing distributes impact across the rim of each plate instead of transmitting force straight through a horizontal stack. Wrap each plate individually in two to three sheets of packing paper, use a double-walled dish-pack box, and fill all empty space with crumpled paper so nothing shifts during transit.
Should I transport food when I move, or leave it behind?
In general, plan to use or donate as much of your pantry as possible before moving day. Most professional movers won't transport perishables, and items in glass jars, open containers, or with liquid contents are prone to leaking and causing damage. For non-perishable pantry items you're keeping, double-seal open packages, tape over lids, and pack food in separate clearly labeled boxes — never mixed with kitchen equipment or fragile items.
How should I pack a stand mixer or other large small appliance?
Use the original box if you have it — manufacturers design those boxes specifically for safe transport of their products. If not, find a box that fits the appliance with two to three inches of clearance on all sides for cushioning. Remove all detachable parts — the bowl, attachments, and cord — and pack them separately in a labeled bag inside the same box or a companion box. Secure the appliance with packing paper or foam on all sides so it cannot shift.
Do I need special boxes for kitchen packing, or will regular boxes work?
For most kitchen items, purpose-built moving boxes make a significant difference. Dish-pack boxes (also called china barrels) have double-walled construction that provides substantially more protection than standard single-wall boxes — worth using for any dishes, glassware, or ceramics. Cell kits for glassware — cardboard inserts that create individual compartments — are inexpensive and eliminate the most common source of glass breakage. For heavy items like pots and pans, standard medium boxes work well as long as you keep weight under 50 pounds per box.



Have Questions About Your Move?
Find clear answers to common moving questions. Learn more about our services, process, and what to expect on moving day.
Our team is here to help. Contact us for personalized assistance with your moving needs.
Ready for a Stress-Free Move?
Let our family help your family with a move handled the right way from start to finish. Request your free quote today and see why Philadelphia families have trusted us since 1981.